


Hey there! As a logic board supplier, I've seen my fair share of logic board problems. Troubleshooting these issues can be a real headache, but with the right approach, you can get to the root of the problem and fix it. In this blog post, I'll share some tips on how to troubleshoot a logic board problem.
Step 1: Identify the Problem
The first step in troubleshooting a logic board problem is to identify the problem. This may seem obvious, but it's important to be as specific as possible. For example, if your device is not turning on, is it completely dead or does it make a clicking sound? If it's making a clicking sound, where is the sound coming from? By asking these questions, you can narrow down the possible causes of the problem.
Step 2: Check the Power Supply
One of the most common causes of logic board problems is a faulty power supply. If your device is not getting enough power, it may not function properly. To check the power supply, you'll need to use a multimeter. A multimeter is a tool that measures electrical voltage, current, and resistance.
First, make sure your device is turned off and unplugged. Then, locate the power connector on the logic board. Use the multimeter to measure the voltage at the power connector. If the voltage is not within the specified range, there may be a problem with the power supply. You may need to replace the power supply or check the power cable for damage.
Step 3: Inspect the Board for Physical Damage
Another common cause of logic board problems is physical damage. If the board has been dropped, exposed to moisture, or overheated, it may have sustained damage. To inspect the board for physical damage, you'll need to remove it from the device.
Once you have the board out, look for any signs of damage, such as cracks, burns, or corrosion. If you see any damage, you may need to replace the board. If the damage is minor, you may be able to repair it using a soldering iron and some solder.
Step 4: Check the Connections
Loose or damaged connections can also cause logic board problems. To check the connections, you'll need to inspect the cables and connectors on the board. Make sure all the cables are securely plugged in and that there are no signs of damage.
If you find a loose connection, simply plug it in securely. If you find a damaged cable or connector, you'll need to replace it. You can usually find replacement cables and connectors online or at an electronics store.
Step 5: Test the Components
If you've checked the power supply, inspected the board for physical damage, and checked the connections, and you still can't find the problem, you may need to test the components on the board. To test the components, you'll need to use a component tester.
A component tester is a tool that measures the electrical properties of components, such as resistors, capacitors, and transistors. By testing the components, you can determine if any of them are faulty. If you find a faulty component, you'll need to replace it.
Step 6: Use Diagnostic Software
Many devices come with diagnostic software that can help you troubleshoot logic board problems. Diagnostic software can test the hardware components of your device and identify any problems.
To use the diagnostic software, you'll need to boot your device into diagnostic mode. The process for booting into diagnostic mode varies depending on the device. Once you're in diagnostic mode, follow the instructions on the screen to run the tests.
Step 7: Seek Professional Help
If you've tried all of the above steps and you still can't find or fix the problem, it may be time to seek professional help. A professional technician will have the tools and expertise to diagnose and repair complex logic board problems.
When choosing a professional technician, make sure they have experience working with logic boards and that they use high-quality replacement parts. You can ask for recommendations from friends, family, or colleagues, or you can search online for a reputable repair service.
Examples of Troubleshooting Specific Logic Boards
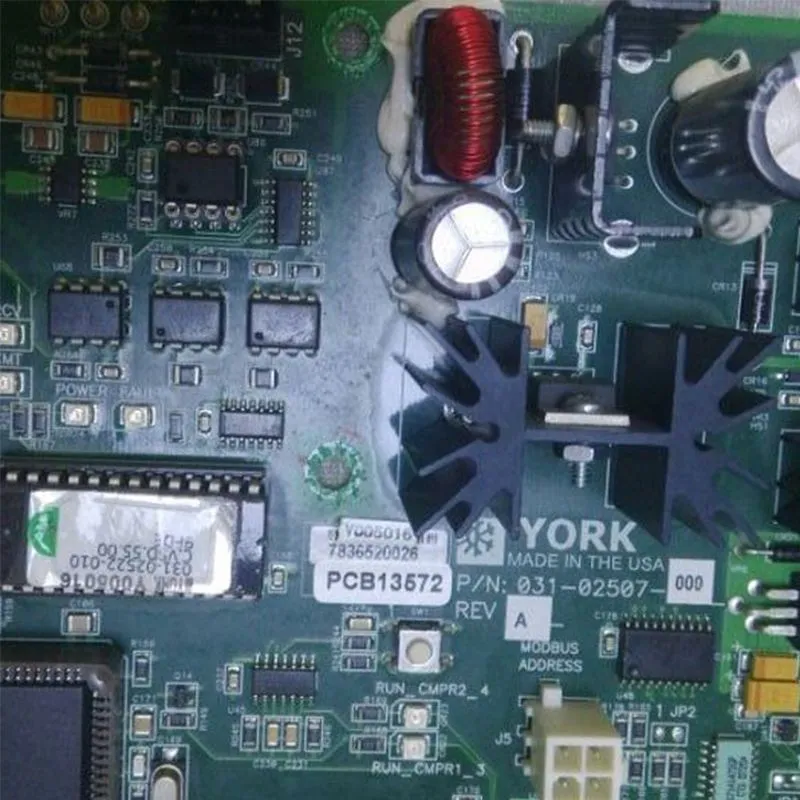
Let's take a look at some specific examples of troubleshooting logic boards. For instance, if you're dealing with a York Logic Board, the steps are similar but you need to consider the unique features of this board.
The York 331 - 02507 - 601 Logic Power Supply Board is a crucial part of many York systems. If you suspect an issue with this power supply board, start by checking the power input and output as described in step 2. Also, look for any signs of overheating on the board, as this can cause components to fail.
The York 031 - 02430 - 001 Main Board controls a lot of the functionality in York devices. When troubleshooting this board, pay close attention to the connections to other components in the system. A loose or damaged connection here can lead to all sorts of problems, from intermittent glitches to complete system failure.
Conclusion
Troubleshooting a logic board problem can be a challenging task, but with the right approach and some patience, you can usually find and fix the problem. Remember to start by identifying the problem, check the power supply, inspect the board for physical damage, check the connections, test the components, use diagnostic software, and seek professional help if needed.

If you're in the market for high - quality logic boards or need help with troubleshooting, don't hesitate to reach out. We're here to assist you with all your logic board needs and can offer expert advice and top - notch products.
References
- Electronics Troubleshooting Handbook
- Logic Board Repair Manuals


