


As a seasoned supplier of solenoid valves, I've witnessed firsthand the importance of maintaining these critical components in various industrial and commercial applications. One common maintenance task that often arises is the replacement of a solenoid valve diaphragm. In this blog post, I'll guide you through the process of replacing a solenoid valve diaphragm, step by step.
Understanding the Solenoid Valve Diaphragm
Before we dive into the replacement process, let's take a moment to understand what a solenoid valve diaphragm is and why it's so important. A solenoid valve diaphragm is a flexible membrane that separates the valve's inlet and outlet ports. When the solenoid is energized, it creates a magnetic field that pulls the diaphragm away from the valve seat, allowing fluid or gas to flow through the valve. When the solenoid is de-energized, the diaphragm returns to its original position, sealing the valve and stopping the flow.

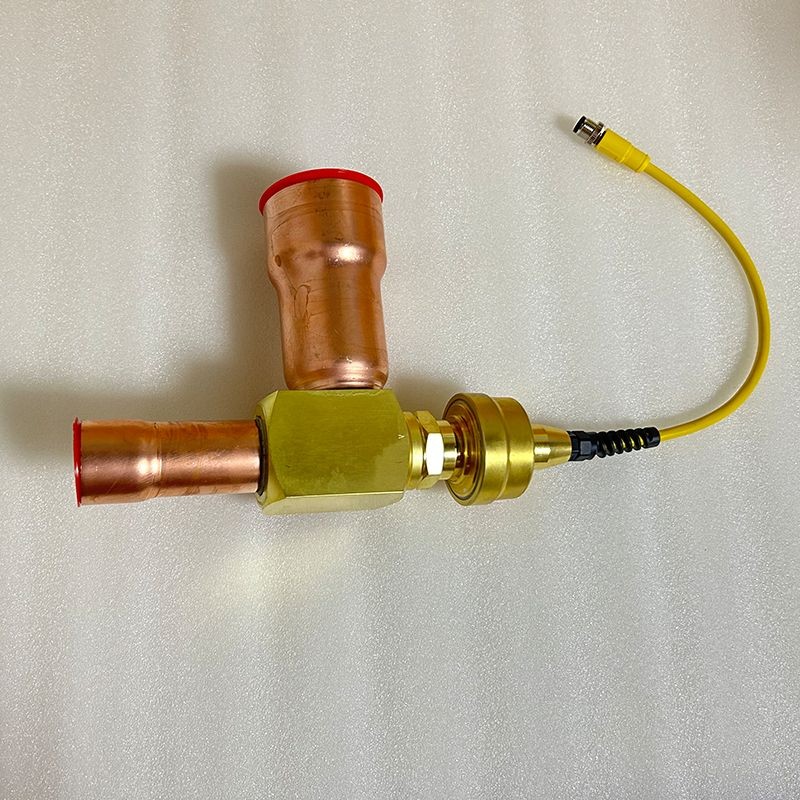
Over time, the diaphragm can become worn, damaged, or clogged, which can cause the valve to malfunction. Replacing the diaphragm is a relatively simple and cost-effective way to restore the valve's functionality and prevent costly downtime.
Tools and Materials You'll Need
Before you begin the replacement process, you'll need to gather the following tools and materials:
- Replacement diaphragm: Make sure you have the correct diaphragm for your specific solenoid valve model. You can find the part number on the valve's label or in the manufacturer's documentation.
- Wrenches: You'll need a set of wrenches to remove the valve's body and access the diaphragm.
- Screwdriver: A small screwdriver may be needed to remove any screws or clips holding the diaphragm in place.
- Clean cloth: Use a clean cloth to wipe down the valve's components and remove any debris or dirt.
- Lubricant: A small amount of lubricant can help make the installation process easier and prevent the diaphragm from sticking.
Step-by-Step Guide to Replacing a Solenoid Valve Diaphragm
Now that you have all the necessary tools and materials, let's walk through the process of replacing a solenoid valve diaphragm:
- Turn off the power: Before you begin working on the valve, make sure to turn off the power to the solenoid. This will prevent any accidental energization of the valve and ensure your safety.
- Isolate the valve: If the valve is part of a larger system, you'll need to isolate it from the rest of the system to prevent any fluid or gas from flowing through the valve during the replacement process. You can do this by closing any upstream or downstream valves or by shutting off the supply of fluid or gas to the system.
- Remove the valve's body: Use a wrench to loosen and remove the bolts or nuts holding the valve's body together. Carefully separate the two halves of the valve body and set them aside.
- Remove the old diaphragm: Locate the diaphragm inside the valve body and use a screwdriver or other tool to remove any screws or clips holding it in place. Gently lift the old diaphragm out of the valve body and discard it.
- Clean the valve body: Use a clean cloth to wipe down the valve body and remove any debris or dirt. Pay special attention to the area where the diaphragm sits, as any dirt or debris in this area can prevent the new diaphragm from sealing properly.
- Install the new diaphragm: Place the new diaphragm in the valve body, making sure it is properly aligned with the valve seat. Use a screwdriver or other tool to secure the diaphragm in place with the screws or clips.
- Reassemble the valve's body: Carefully align the two halves of the valve body and use a wrench to tighten the bolts or nuts holding them together. Make sure the valve body is securely fastened and there are no gaps or leaks.
- Test the valve: Once the valve is reassembled, turn on the power to the solenoid and test the valve to make sure it is functioning properly. You can do this by opening and closing the valve and checking for any leaks or other issues.
Tips and Tricks for a Successful Replacement
- Follow the manufacturer's instructions: Always refer to the manufacturer's instructions when replacing a solenoid valve diaphragm. Different valve models may have different installation procedures, so it's important to follow the specific instructions for your valve.
- Use the correct tools: Make sure you have the correct tools for the job. Using the wrong tools can damage the valve or make the replacement process more difficult.
- Be careful not to damage the diaphragm: The diaphragm is a delicate component, so be careful not to damage it during the removal or installation process. Avoid using sharp tools or applying too much pressure to the diaphragm.
- Lubricate the diaphragm: A small amount of lubricant can help make the installation process easier and prevent the diaphragm from sticking. Apply a thin layer of lubricant to the diaphragm before installing it in the valve body.
- Test the valve before putting it back into service: Once the valve is reassembled, test it to make sure it is functioning properly. This will help you identify any issues before putting the valve back into service and prevent any costly downtime.
Conclusion
Replacing a solenoid valve diaphragm is a relatively simple and cost-effective way to restore the valve's functionality and prevent costly downtime. By following the steps outlined in this blog post and using the tips and tricks provided, you can successfully replace a solenoid valve diaphragm and keep your system running smoothly.
If you're in the market for a new solenoid valve or need replacement parts, we're here to help. As a leading supplier of solenoid valves, we offer a wide range of high-quality valves and parts from top manufacturers, including Carrier Solenoid Valve, York Solenoid Valve, and Trane Solenoid Valve. Contact us today to learn more about our products and services and to discuss your specific needs.
References
- Manufacturer's instructions for solenoid valve
- Industry best practices for solenoid valve maintenance


